
From Paper Bag To Wedding Invitations
As we were in full force in planning our Rustic Luxe Wedding, it came time to order wedding invitations. We had spent hours upon hours looking online, ordering samples and visiting a few local places but no one could seem to give us the unique customized option we were looking for. When our guests opened our invitations, we wanted them to be wowed and get a sneak peak at what our wedding would be like. All of the pre-made or made-to-order wedding invitations just weren't quite what we were looking for. After exhausting our extensive search for the perfect wedding invitations, we decide that the best option would be to make our own perfect invitation. During the holidays and special occasions throughout the year we had crafted greeting cards out of a paper lunch bag. So for several weekends we went to the craft store, got samples of paper, picked out accents, and created several mock-ups until we were happy with the direction we were headed. Some of you might think we were crazy deciding to hand craft 150 wedding invitations, but if we had to do it all over again we would!
With both of us having an interest in graphic design, it didn't take us but a few cups of coffee and some snuggling on the couch to create the two inside panels that would give our guests all of the important details of what would take place on our big day. After having picked the perfect color combinations of paper, we started mass producing each individual piece of the invitation. We were able to print all of the materials for the invitations ourselves except the RSVP postcard. Finally we were in complete control of exactly how our invitations would turn out and the best part is we got to spend quality time together for several nights and weekends assembling each and every invitation.
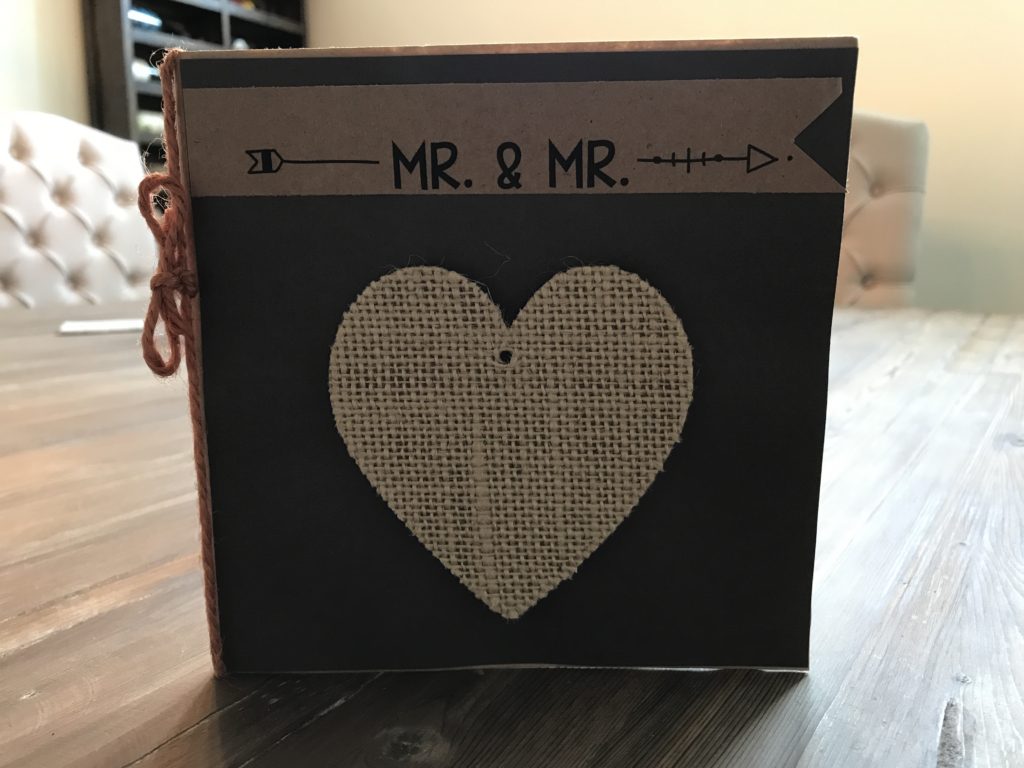
So most of you are probably wondering how did we make a paper lunch bag into a wedding invitation? It's easy! You take a giant lunch bag, which you can find at most grocery stores, fold it in half, lay it flat with the opening on the right and in the back. This is now the front panel, which we then used glue tape to attach a 6" x 6" square of paper. Next we added a wood heart that was covered in burlap using tacky glue. Finally we printed and cut out the Mr. & Mr. Flag Banner for the top and attached it using glue tape. We then tied a string that goes through around the entire paper bag when it is unfolded and laying flat.

For the two inside panels we attached a 6" x 6" square of paper to each side using glue tape followed by a 5" x 5" pre-printed paper. We ordered the cute little "Undo Me" stickers online and purchased a tube of colored paper clips at the craft store.
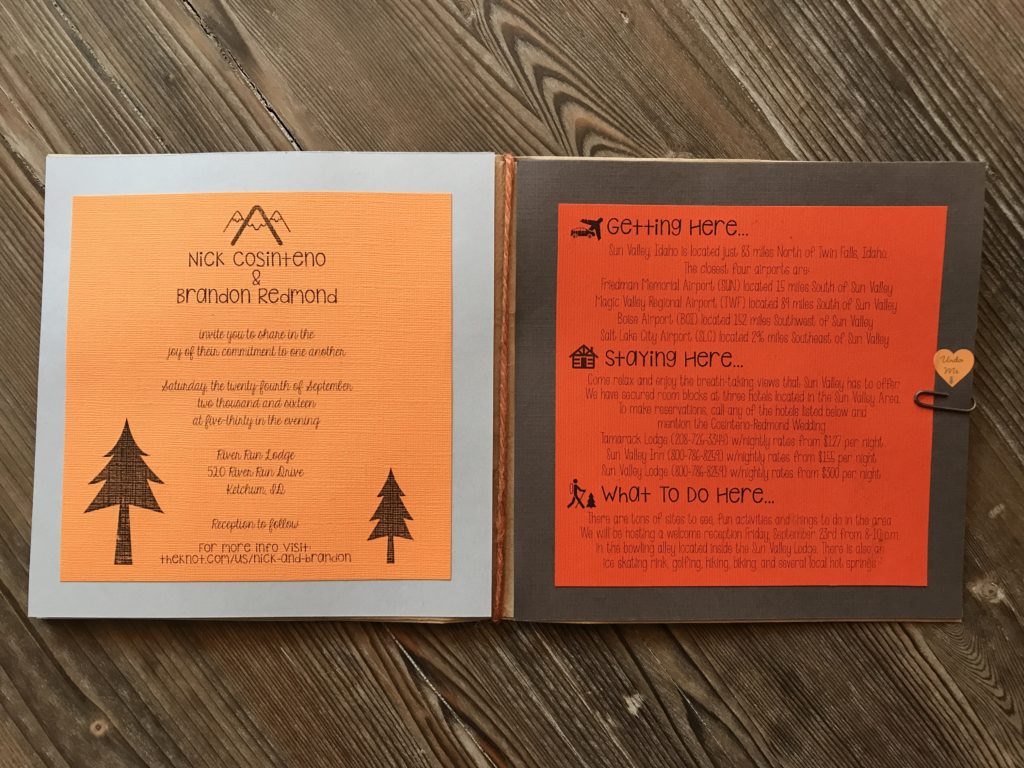
Since the whole invitation is made out of a paper bag, there is a built in pocket! In the pocket is where we put our RSVP cards along with special announcements for family members all held neatly in place with a paper clip and a cute reminder to undo the clip.

For the back panel we attached another 6" x 6" square of paper using glue tape along with a 4" x 4" photo of us using photo corners. The nice part is the photo is only held in place but can be removed and kept, making the paper bag invitation a little more personal and giving the guests a photo they could keep.

So if you decided to make your wedding invitations by hand, let us know if you have any questions or if we can help! And if you haven't already, be sure to read all about our amazing Rustic Luxe Mountain Wedding!
Save
Save